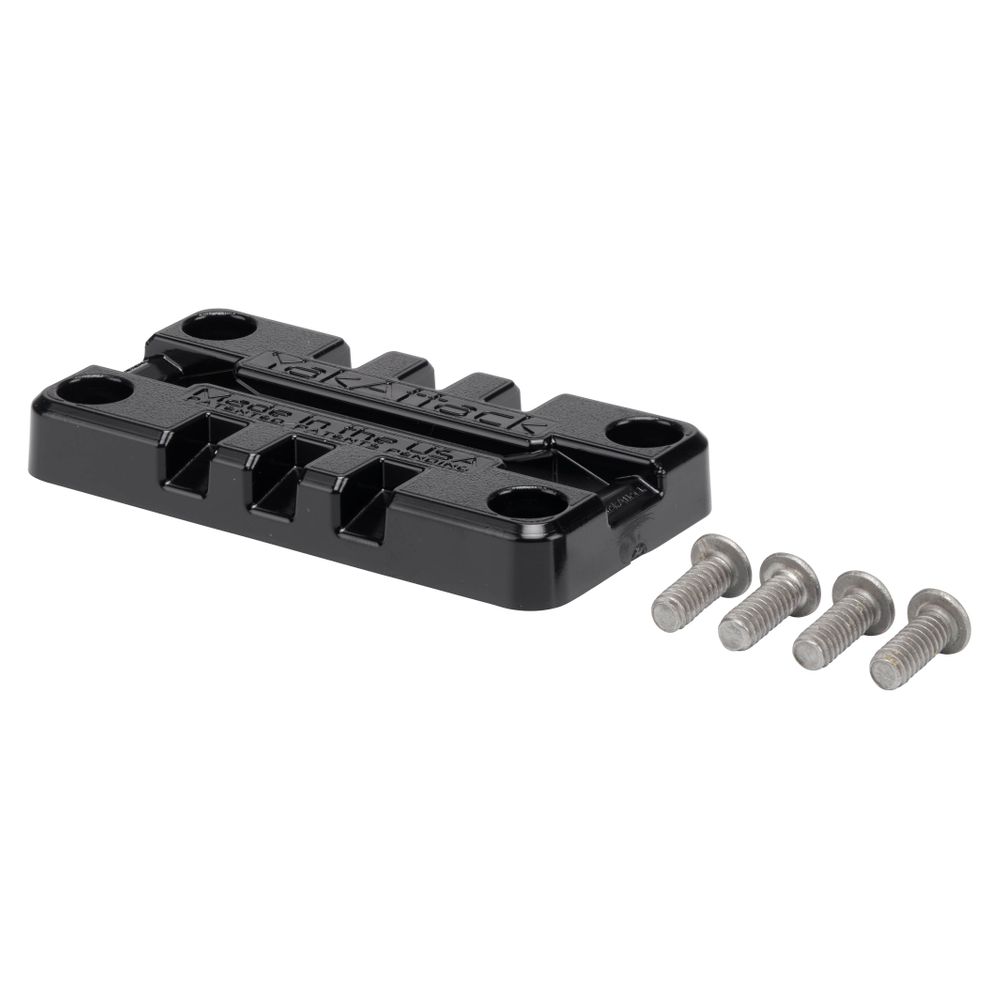
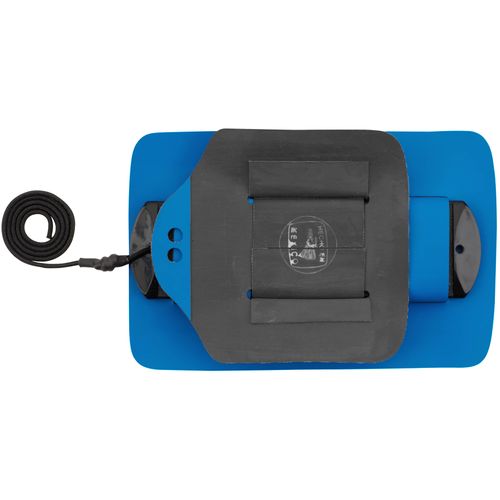
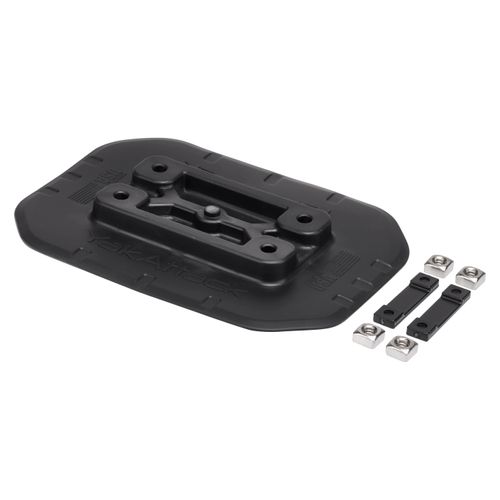
YakAttack x NRS MightyMount Switch
Product Gallery
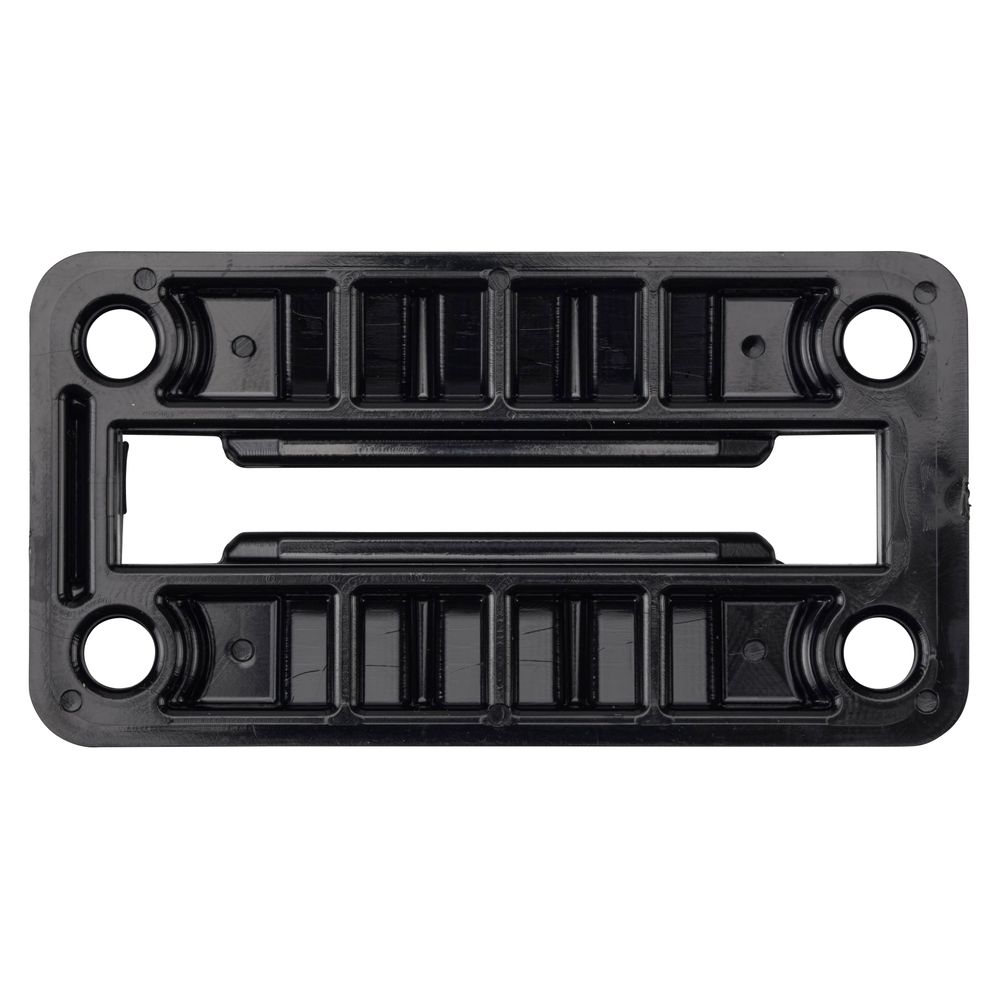
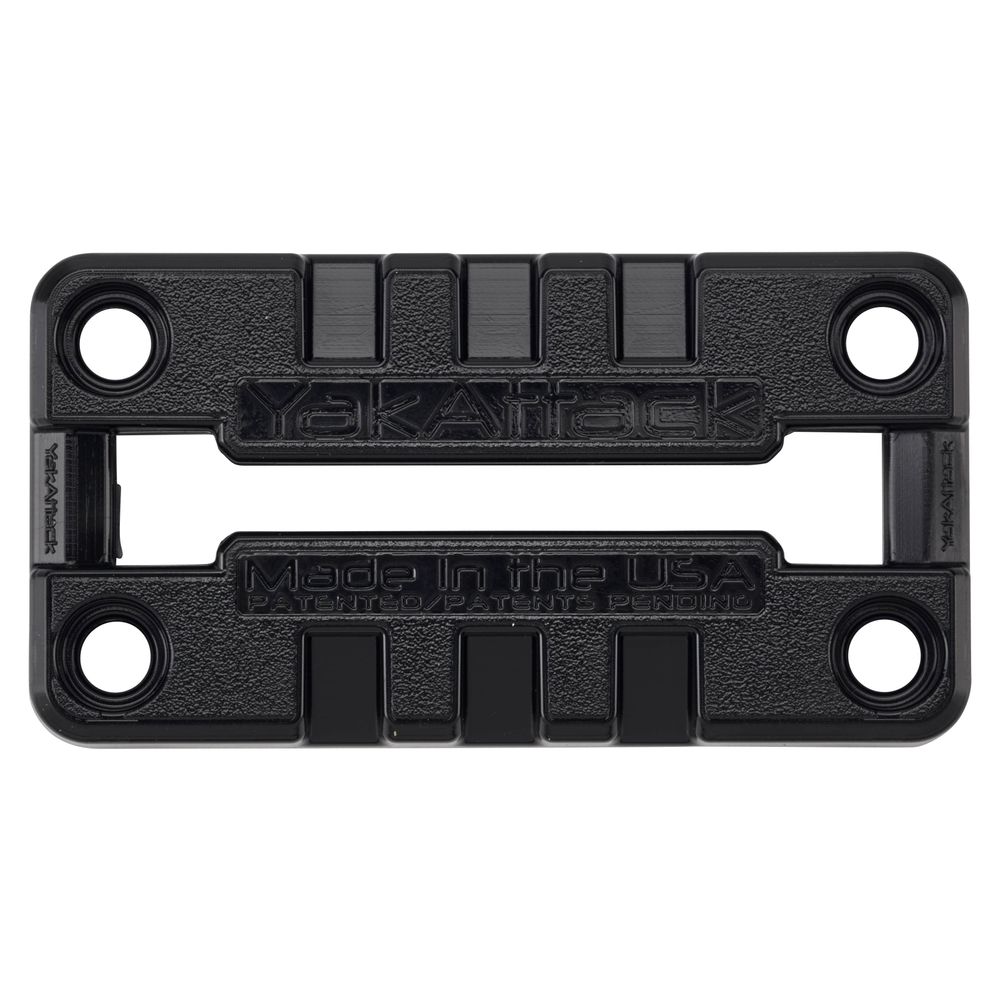
Product Gallery Thumbnails


Price: $16.95
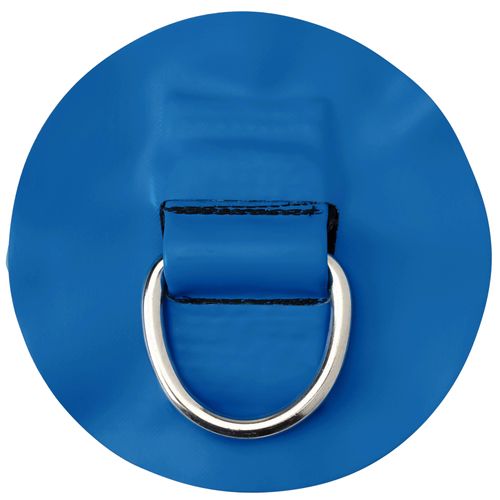
The YakAttack® MightyMount Switch™ makes older deck mounts compatible with a range of modern fishing and paddling track-mount accessories—without the need to drill. Designed for use with inflatable and hard shell watercraft.
Product Details
- Provides deck mount capability for adding cup holders, camera mounts, rod holders and more to your watercraft.
- Securely attaches to SwitchPad™ Flexible Surface Mount (sold separately).
- Compatible with YakAttack LockNLoad™ mounting system and with other MightyBolt accessories. For kayaks with pre-threaded inserts, additional hardware may be required.
- Durable construction for harsh outdoor environments.
- Made in the USA.
Specs
Dimensions:
4” L x 2” W
Weight:
3.2 oz.
Features:
- UV-resistant
- Stainless steel hardware
- Made in USA
- Covered under YakAttack Built for Life Guarantee
Product Instructions
Instructions for Inflatable Kayaks:
Instructions for rotomolded and ABS Kayaks:
Note: Do not use Loctite® or any other threadlocker that may react with plastics.
- Locate the shorter 1/4-20 x 5/8" stainless steel screws in the bag labeled “Hardware for Inflatable Installs.”
- Position the MightyMount Switch on your YakAttack SwitchPad or other inflatable mount.
- Insert a screw into each hole of the MightyMount Switch.
- Hand tighten with a Phillips-head screwdriver until snug. Repeat for the rest of the hardware.
- After all screws are installed, fully tighten while being careful not to over tighten.
Instructions for rotomolded and ABS Kayaks:
- Locate hardware for Deck Mount Installs.
- Position the MightyMount Switch on the surface where you want to install it.
- Using a hole in the MightyMount Switch as a guide, drill the first hole using a 17/64” drill bit.
- Drop a long 1/4-20 screw through the MightyMount Switch and into the drilled hole. This will prevent the MightyMount Switch from sliding around as other holes are drilled.
- Repeat steps 3 and 4 for the rest of the holes.
- Once all holes are drilled, remove all screws.
- Apply marine sealant as desired into hole and/or on screw threads.
- Install screw with washer and nut on inside of hull, do not fully tighten.
- Repeat steps 7 and 8 for remainder of screws.
- After all screws are installed, fully tighten while being careful not to over tighten.
Note: Do not use Loctite® or any other threadlocker that may react with plastics.
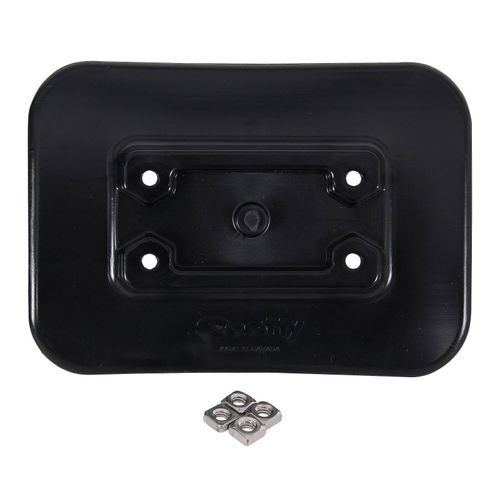
You May Also Like
Reviews
Due to your cookie choices, we cannot show you this content. Adjust your settings?
Questions
Due to your cookie choices, we cannot show you this content. Adjust your settings?
 NRS Gift Card: Always Fits, Always Wanted


