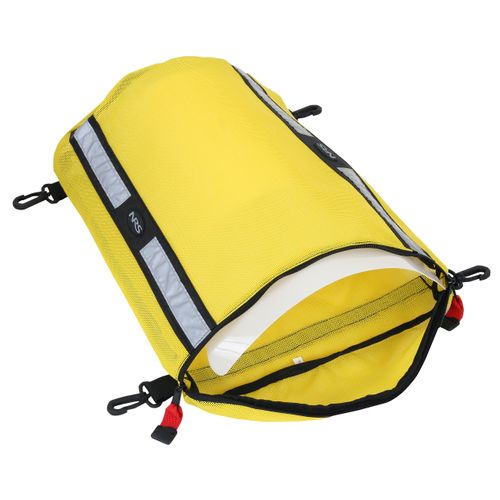
NRS Sea Kayak Paddle Float
Product Gallery
Product Gallery Thumbnails


Product Details
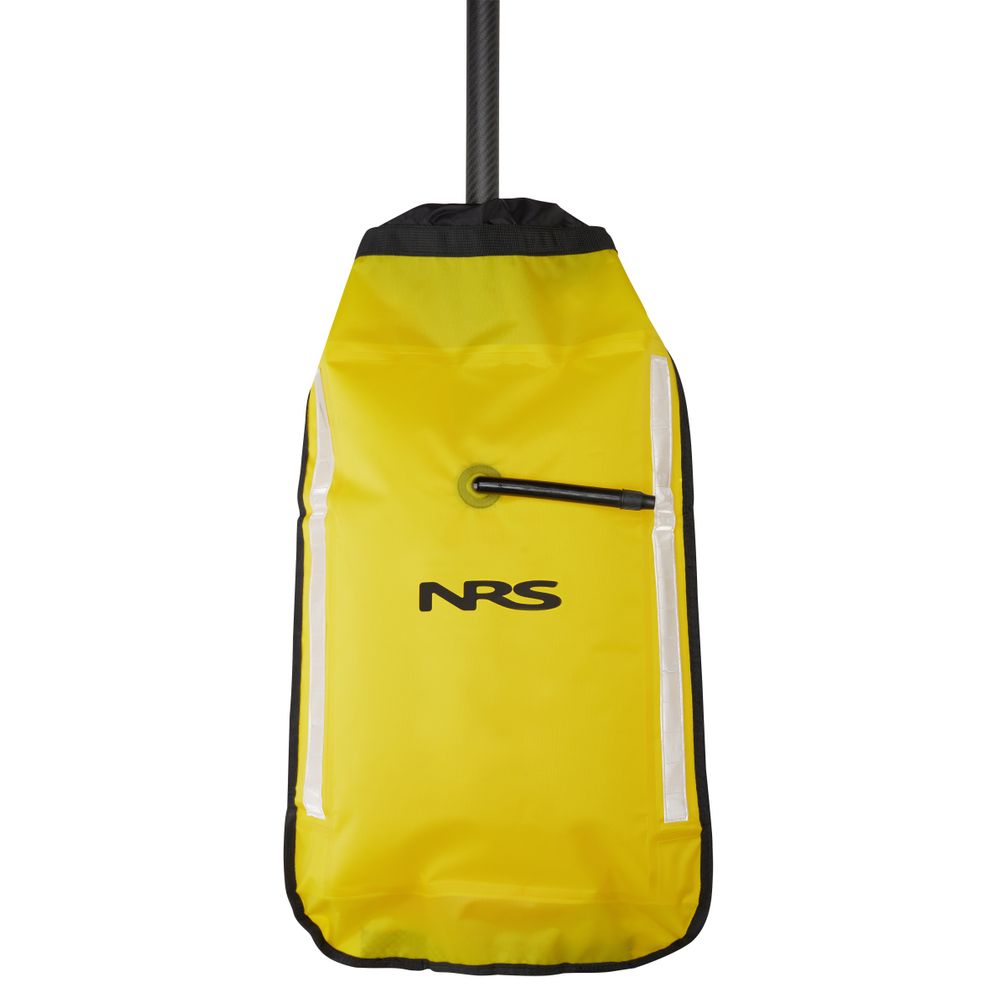
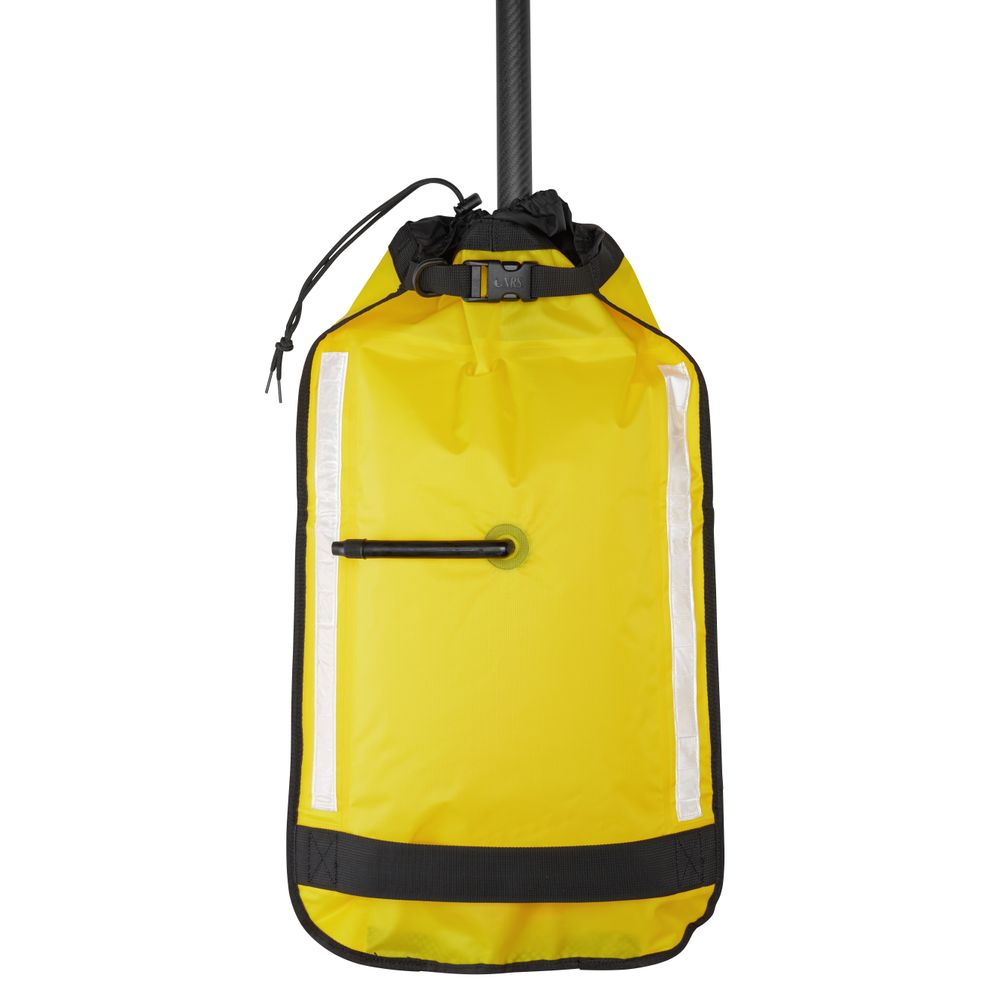
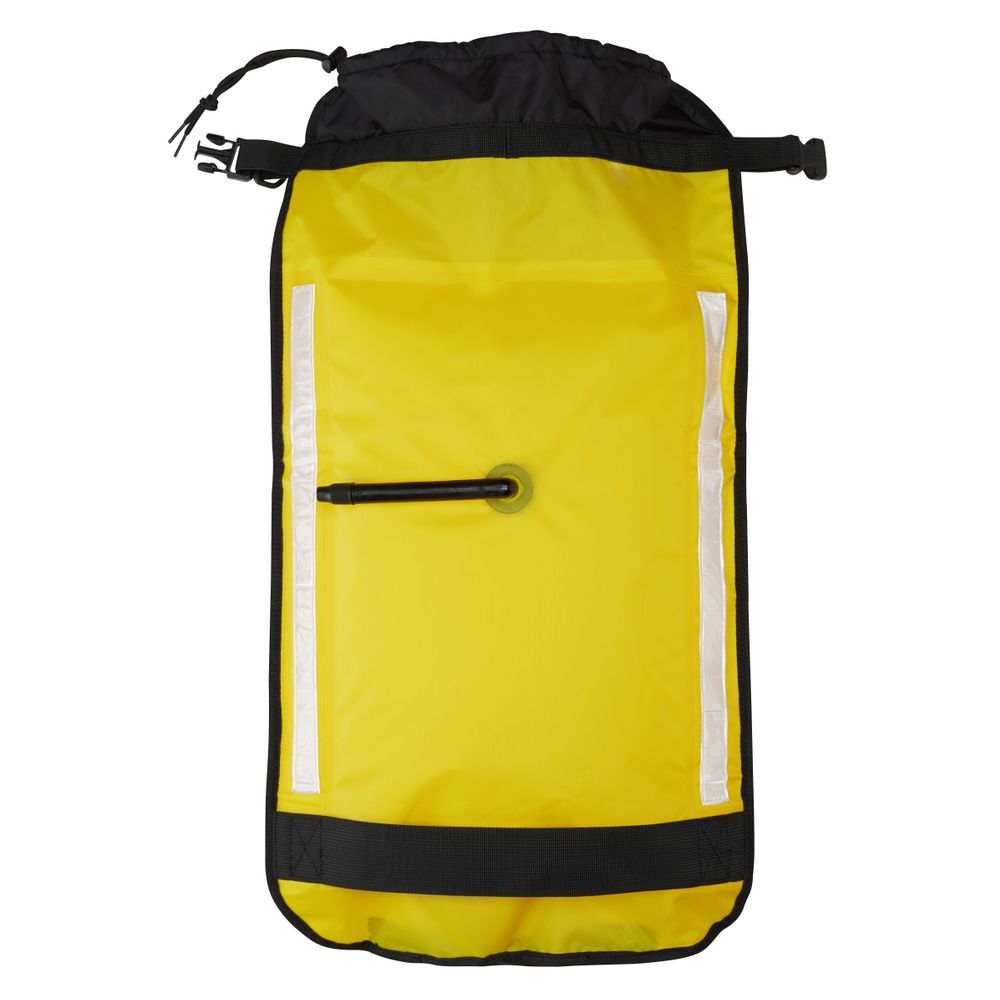
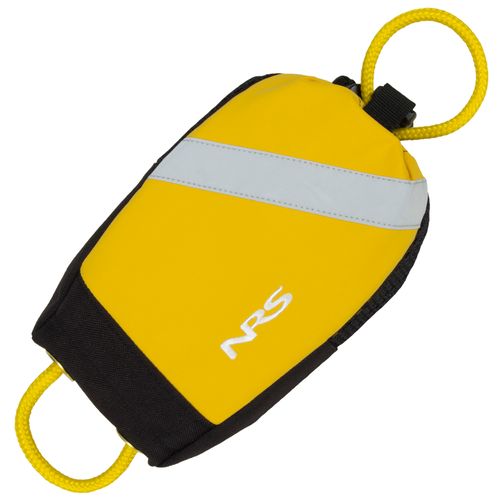
- This easy to use compact paddle float serves as an outrigger to stabilize your boat in an unassisted re-entry situation.
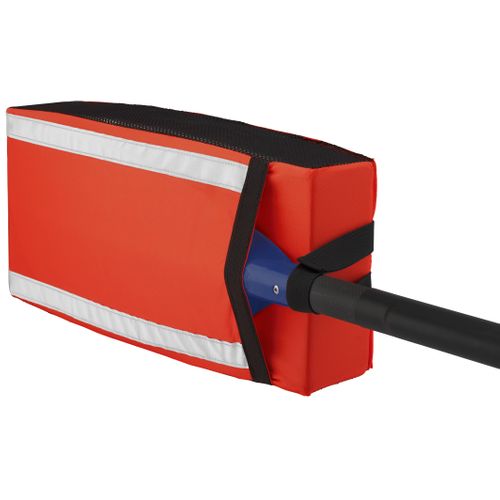
- The huge main pocket easily slips over a paddle blade and securely buckles to the shaft with 1" webbing and a barrel lock draw cord.
- Constructed with a durable nylon outer shell with 2" webbing grab loop (not shown).
- Dual air chamber design with easy-to-use twist valves provide you with a back up chamber if ever necessary.
- Reflective tape for additional visibility.
Learn More


Product Tips
To prevent water entry, be sure the air chamber valves are closed until you need to inflate a chamber. You only need to inflate one of the air chambers while using the float.
Specs
- Dual air chambers
- 2 twist valves
- Webbing with buckle used to secure float to paddle shaft
- Reflective tape
- Both chambers displace 14 liters
- Each chamber displaces 7 liters
Product Instructions
- Before kayaking, secure your NRS Paddle Float in an easily accessible area such as in the deck rigging or inside your deck bag. Make sure the float is properly secured so that crashing waves or heavy winds do not wash or blow it away.
- After capsizing, flip your boat over quickly (a quicker flip means less water in your cockpit). Grab the float, and attach it to one end of the paddle by sliding the blade into the float and securing it with the drawstring and quick-release buckle. Inflate either air chamber on the paddle float. Only one of the two air chambers needs to be inflated to create an outrigger for re-entry.
- Create an outrigger by placing your paddleshaft behind the rear cockpit coaming of your kayak, holding it tight with your hand. Place your other hand on the rear deck, and prepare to lift yourself by getting horizontal in the water with your heels close to the water surface. Please note that your body position will be just behind the cockpit of the kayak.
- Lift your torso onto the rear deck first, then work your feet onto the paddle shaft outrigger, hooking your ankles around the shaft. Slowly work your first foot into the cockpit, then the second. Twist your body around towards the paddle float and slide back into the cockpit, always keeping your balance toward the float so that you do not capsize again.
- Put your paddle in a stable situation (possibly under your stomach) so that you can drain the boat with a bilge pump and reattach your sprayskirt. Remove the paddle float, deflate, and stow it away securely. If the water is choppy, you can store the inflated paddle float under your deck rigging until you reach safety, then deflate.
Note: in an emergency, you can put your arms through the webbing straps on each end of the float to provide extra floatation.
Note: there are many schools of thought on paddle float reentry. Although the above is one of the most popular methods, take the time to read various sources on the subject and find the system that works best for you! Also, do not wait for an emergency. Practice paddle float re-entry in a controlled situation and be better prepared when the real emergency comes!
WARNING: This product can expose you to Bisphenol S (BPS), which is known to the State of California to cause cancer and birth defects or other reproductive harm. More about California Proposition 65 . Opens a new window.
You May Also Like

Reviews
Due to your cookie choices, we cannot show you this content. Adjust your settings?
Questions
Due to your cookie choices, we cannot show you this content. Adjust your settings?
 NRS Gift Card: Always Fits, Always Wanted


