Using Yoga to Strengthen Your Hips for Kayaking
“Use your hips!” I hear myself saying this phrase all summer long as a kayak instructor. Our hips are so important to every aspect of boating, but sometimes we forget about them until something happens—our back hurts or we lose our roll. Also, we often think that as kayakers we need to work on hip flexibility, when actually we need to work on both strength and flexibility. Further, when we refer to using our hips in boating, we’re referring to the inner thighs, outer thighs, fronts of the hips (hip flexors), and the buttocks. If we have a routine that both strengthens and stretches these muscles, you’ll find that not only will you have better balance on the water and a more powerful hip snap, but you’ll also alleviate the ever persistent boater back pain.
The hips are a complicated region with many muscles that attach to the pelvis, spine and thighs that help control our movement. The inner and outer thighs help control the side to side movement of our kayak, thus helping us to keep the kayak center underneath our torso and helping us to roll. Also, what I’ve found from many years of kayaking and not doing much else—if you don’t strengthen the outer hips (the thigh external rotators and the thigh abductors) outside of kayaking, they get really weak and contribute to sacroiliac instability and low back pain (the sacroiliac joints connect the spine to the pelvis). Plus, if you do strengthen those muscles outside of boating, your boating will get more powerful and stable.
I developed the following routine for a well-rounded strength and flexibility session for boaters’ hips. This is a great routine no matter what kind of boater you are: whitewater or flatwater kayaker, rafter, or open boater. If you’re into SUP—try it on your board!
Throughout this sequence, don’t push through any pain or popping. Move with ease and integrity—it’s better to do a pose just a little bit, with integrity, than to force your body to move in ways that aren’t available to you yet. Be patient with yourself. Your body will progress faster if you practice more often and less forcefully. Learn to listen to your own body. You don’t need to look like a picture of someone else doing yoga. It’s your body, and no one else knows how it feels. Also, keep breathing as you practice. If you can breathe freely, then your body is happy and your mind is relaxed! Hold each pose as long as you want.
Also, have fun and don’t take yourself too seriously!
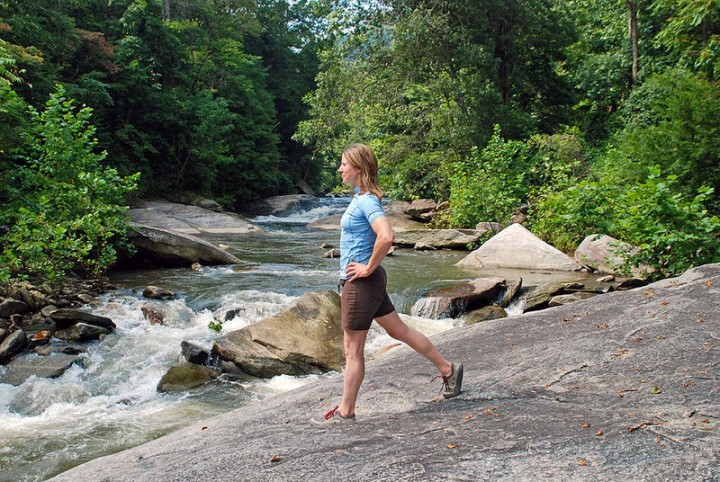
Tree Pose
Begin by standing straight, body tall, but relaxed, not rigid. Take some deep breaths and begin to notice your whole body: feel your feet on the ground and make sure you’re not holding tension anywhere.
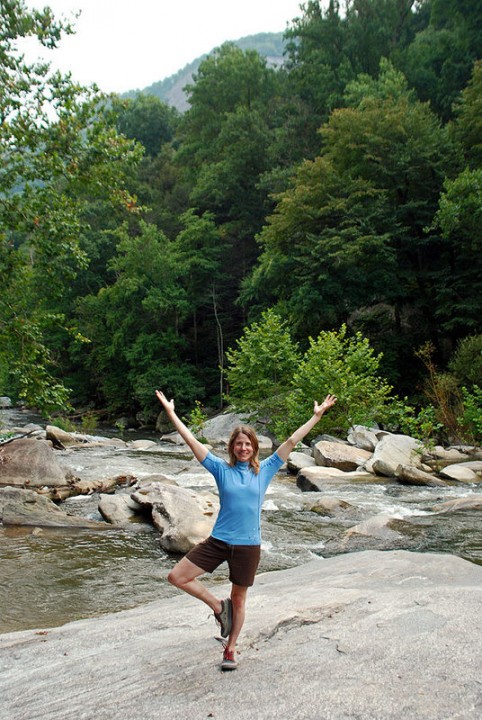
Exhale as you bend your right knee and rotate your leg out to the side as much as you can without strain. You can place your right foot on your left shin or upper inner left thigh. Make sure that your hips don’t rotate out with your thigh or that they don’t tilt to one side—keep them square and level. You can lift your arms overhead or have them on your hips.
Warrior 2
From standing, step your feet a few feet apart. You can play around with the width of the stance to suit your body. Turn your right leg out 90 degrees and your left leg in slightly. Bend your right knee. Make sure that your right knee stays aligned over your right heel and isn’t falling inward or outward. Again make sure that your hips don’t tilt or rotate out—keep them square and level. You can place your hands on your hips while you move in order feel where they are.
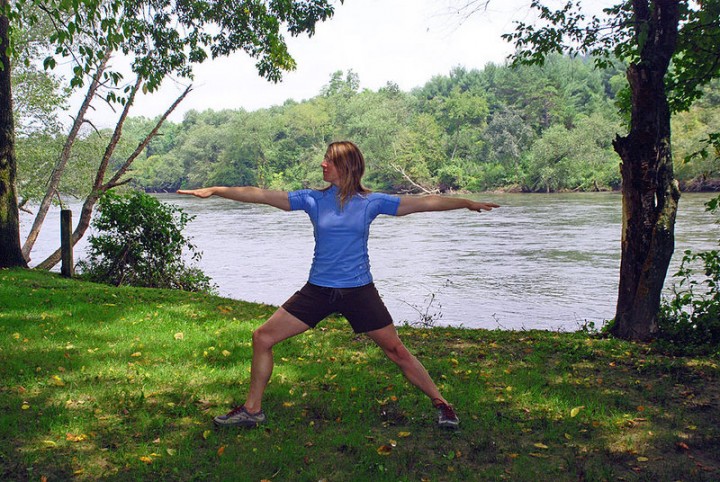
Lift you arms out to the sides as high as you can with no popping (a big task for a kayaker! Sometimes my shoulders are so tight that I can’t lift them at all without popping, so I just do the pose with my hands on my hips.)
Extended Side Angle Pose
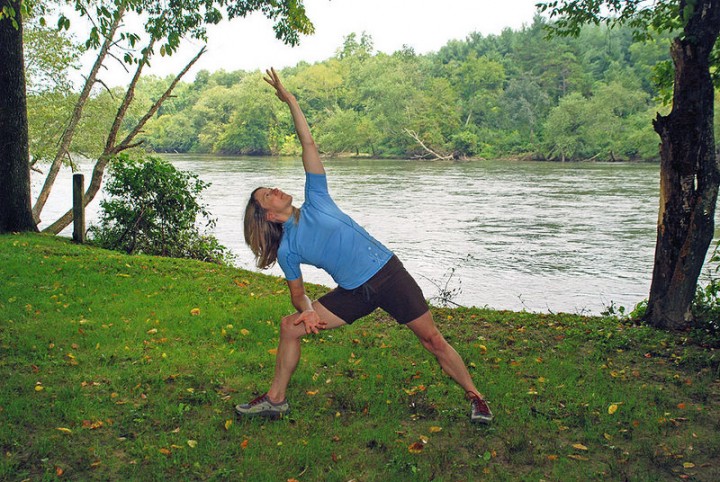
From Warrior 2, place your hands on your hips. As you exhale, tilt your pelvis to the right and stretch to the right side. You will feel your right hip drop as your left one lifts. Stretch your right- and left-side waist evenly. Lift your left arm up—again, only in a range of motion with no popping.
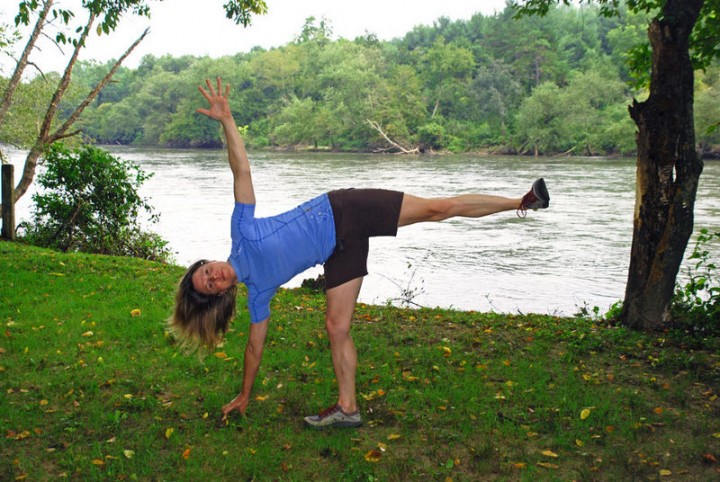
Half Moon Pose
From Extended Side Angle, bring your left leg closer to your right as you take your right hand to the ground a few inches in front of your right toes. Take all of your weight onto your right leg. Stack your hips over the right leg. Straighten your left leg—the knees and toes facing forward. Don’t put any weight on your balancing hand! Let your core and hips do the work. You can bend your standing leg knee as much as you need to—don’t strain! Reach your left arm up toward the sky if you want, or keep it on your hip.
Repeat this sequence to the other side and then come back to standing.
Warrior 3
From standing, extend your right leg behind you. As you exhale begin to tip forward as you bring all your weight onto your left leg.
You can bend your left knee as much as you need. Keep your weight centered on your left foot, or you can even bring it more into the heel. Lift your right leg behind you as much as you can without strain.
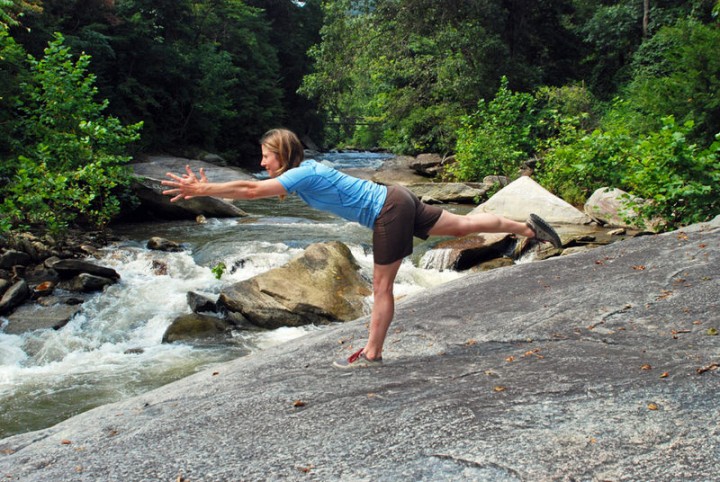
Keep your buttocks level—if you need to, you can put your hand back there and see if your right hip is lifting up. If it is, slowly drop it back down to level with the left. Lift up with your core. If you want, you can reach your arms out like I am in the picture. However, it’s perfectly fine to keep them on your hips. This pose is a real killer for me—it challenges all the places that I get weak and tight from boating.
High Lunge
From Warrior 3, gently bring your right leg down behind you into a lunge. You can bend that back leg or straighten it. I have really tight quads and hip flexors, so mine is bent. Over time, work on straightening it to get more stretch in those hip flexors. It’s a constant battle to keep those hip flexors supple!
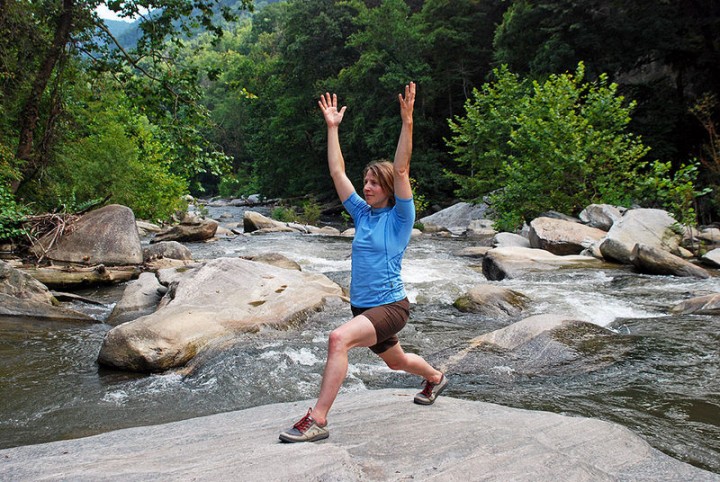
Make sure that your front knee doesn’t go forward past your heel and that it’s not falling inward or outward.You can have your hands on your hips or lift them overhead.
Low Lunge
Bend the back knee and take it to the ground. You might need to have some padding under that knee if you’re not on carpet. I didn’t think of that during the photo shoot, and having my knee on the rock really hurt!

Keep your front knee over your heel and not falling inward or outward. You can have your hands on your hips or reaching overhead. You can enhance the stretch by coming into a slight backbend.
Pigeon
From the low lunge, take your left foot over near your right hand as you externally rotate your left thigh. Make sure that you’re rotating at the hip joint and not at the knee joint. Knees aren’t supposed to externally rotate; so if you feel any pain in your knee, come back out of the pose into a place of no pain.
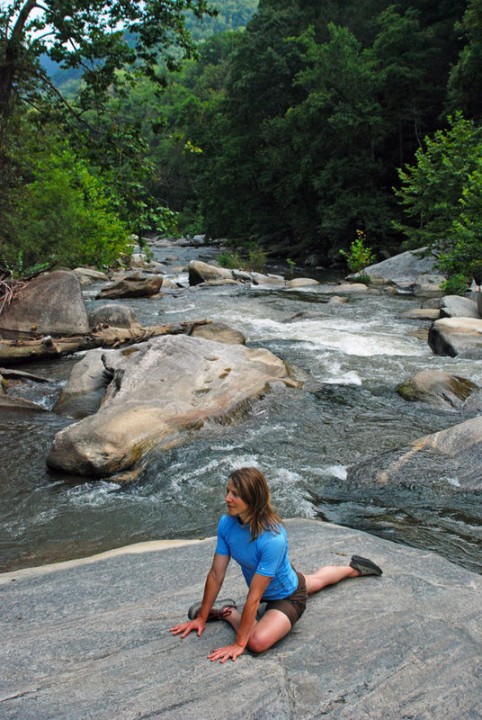
As the left hip relaxes into the pose, you can drop your hips closer to the ground. Make sure that your hips stay even—that one hip is not lifting or collapsing. Also keep your pelvis neutral—meaning don’t let it arch forward. Neutral is where your pelvis is when you are standing. There is no reason to push or force anything here. Be where you are! I often will support myself in this pose by placing pillows and blankets under my pelvis.
Double Pigeon
From Pigeon, slowly and carefully come out of the pose and come to a seated position. Bend your knees and externally rotate your thighs as you stack your left shin on top of your right shin. Play around with the position of your legs to find something that suits you. You should have no pain in your knees. Also to help the alignment of your knees, keep your feet somewhat flexed—as if you were standing on them.
If you ever need to increase this stretch, you can bend forward over your legs. Ahhhh!
Repeat this sequence to the other side.
Bridge
Lie on your back with your knees bent and your feet straight. As you exhale, lift your pelvis. If you have pain in your knees, move your feet away from your buttocks. Don’t let your knees splay out to the sides—keep your thighs parallel. Press your shoulders down into the ground.
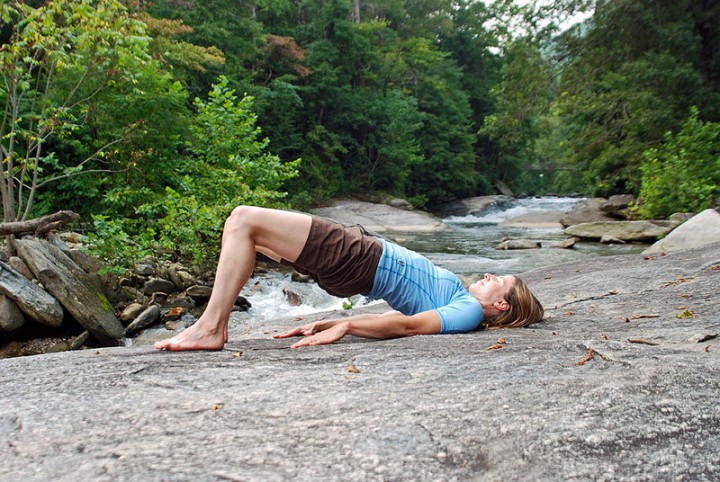
You can increase the difficulty of this pose by lifting one leg up.
Come down slowly and mindfully.
End this sequence by resting in Corpse Pose. Lie flat, totally relax, and feel your breathing for at least 5 minutes.
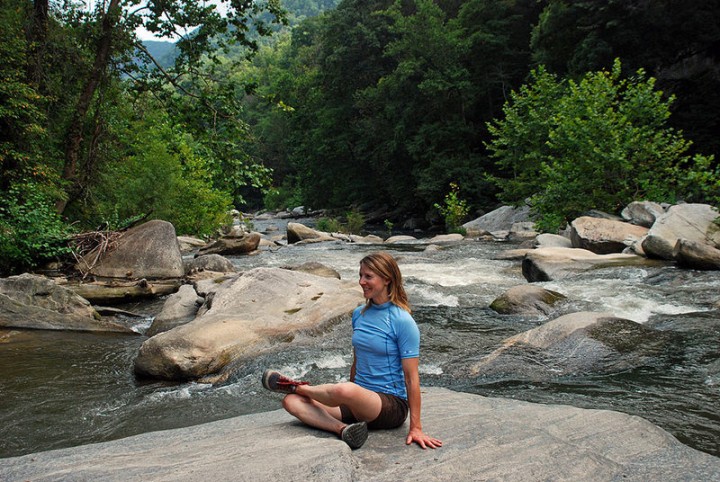
 River runner and yoga instructor Andria Davis shows you some yoga techniques to help improve flexibility and strengthen your hips for kayaking as well as canoeing, rafting and SUP.
 NRS Gift Card: Always Fits, Always Wanted


