NRS Frame Raft Motor Mount
Product Gallery
Product Gallery Thumbnails


Price: $219.95
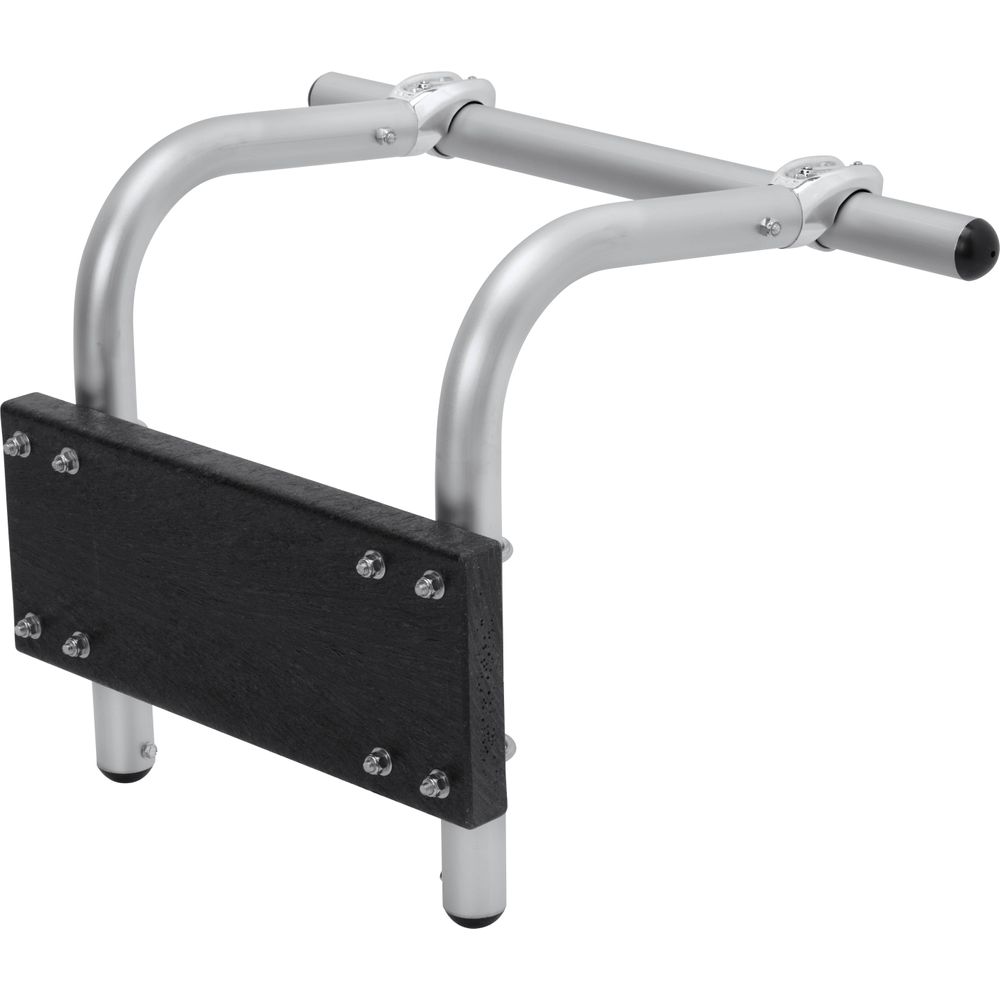
Attach an outboard motor to the NRS Raft Motor Mount and your raft is ready for fishing or moving you through those long, flat stretches.
Product Details
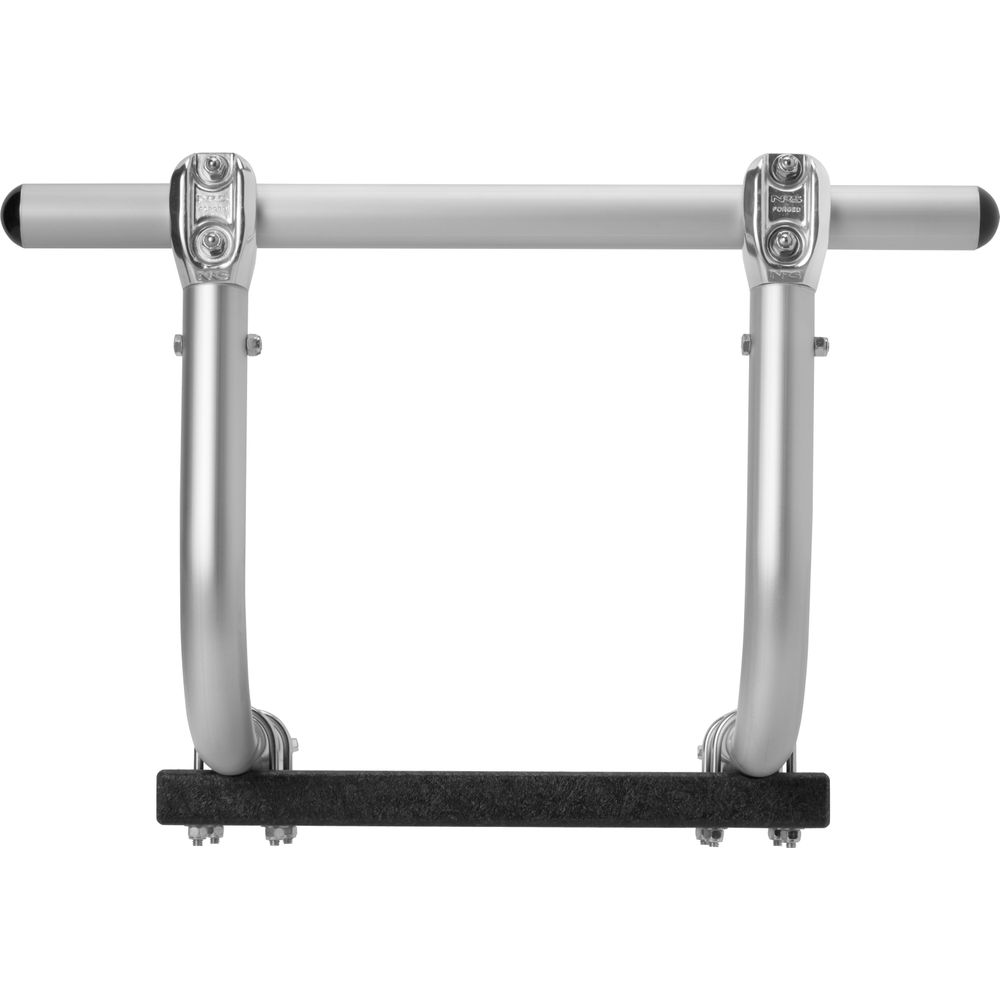
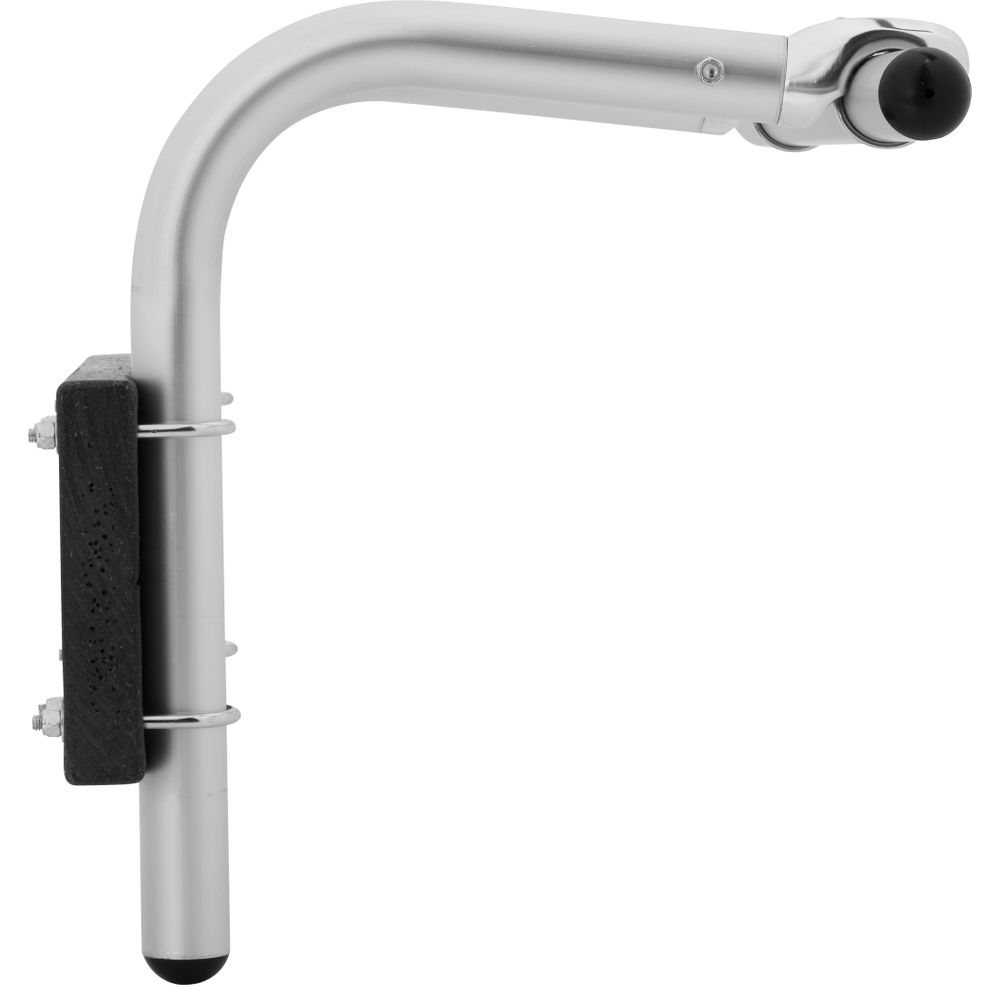
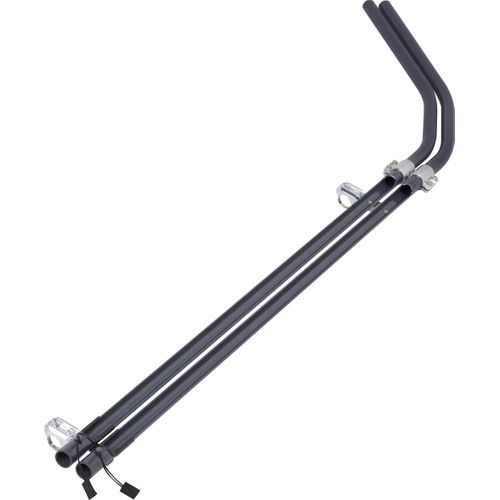
- We use our heavy-duty 1-5/8" OD 6061-T6 aluminum pipe to make the framework for the Motor Mount.
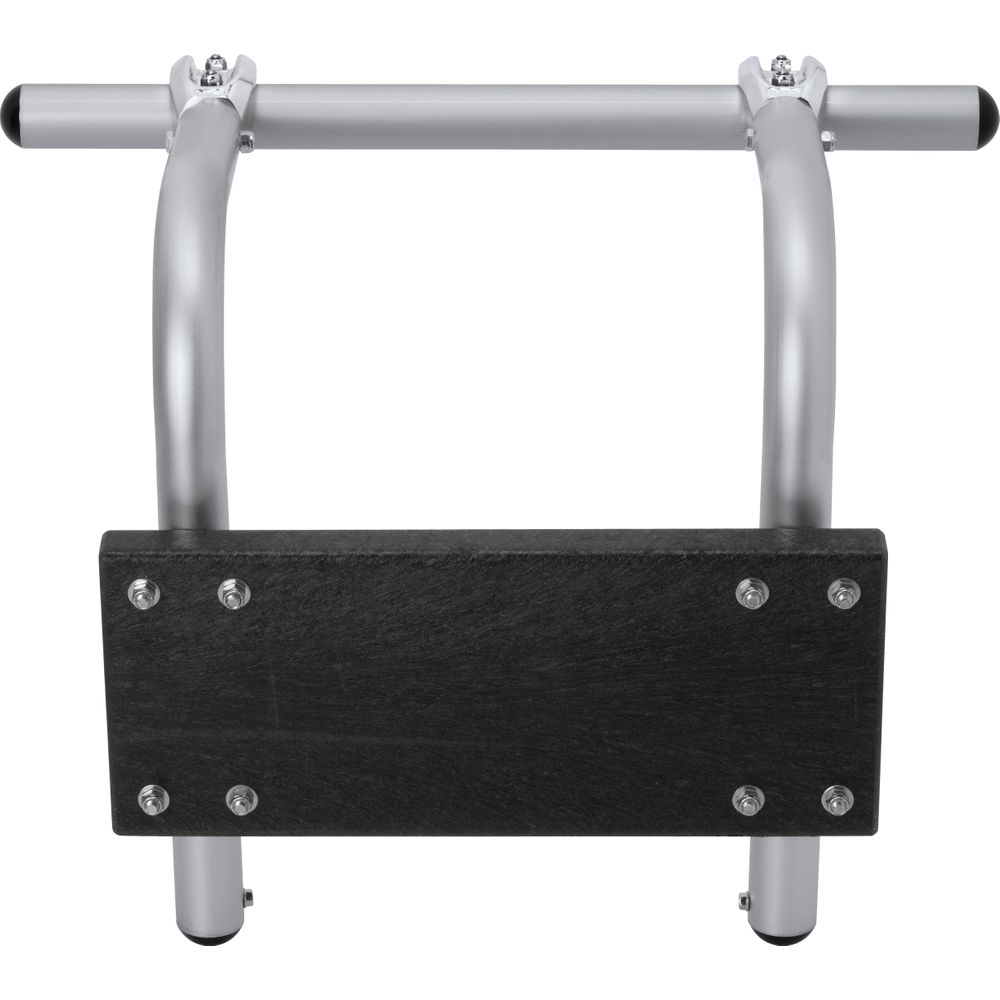
- The 18" wide transom plate is a piece of 2" x 8" wood/plastic composite decking material that will not rot or deteriorate when exposed to water and sun.
- Four 3 3/4" motor mount U-bolts hold the transom plate firmly in place.
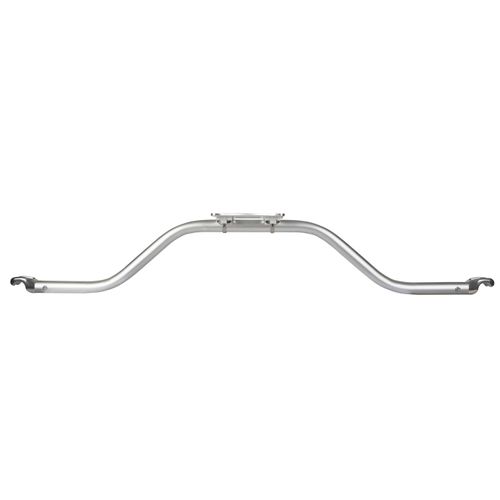
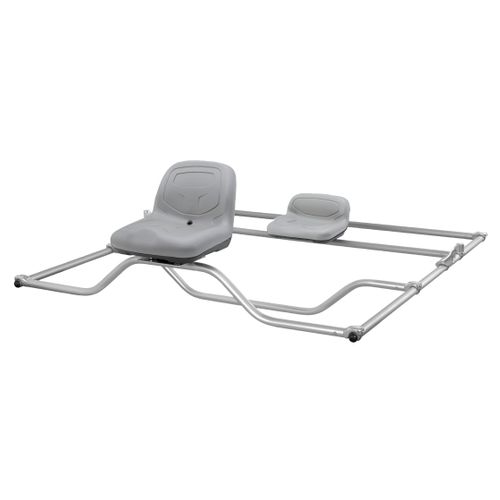
- If you already have an NRS Stern Seat Mount, you can install your Motor Mount on the Seat Bar.
- If you do not have a Stern Seat Mount you will need a pair of NRS Stern Side Rails (Item # 90022.02, sold separately) to link the Motor Mount to the rear Crossbar of your frame. We stock three sizes: 32", 36" and 39". Measure the distance from the center of the rear crossbar to the center of the raft’s rear tube. If you need a length other than those stock lengths, we will custom bend the size you need.
- In our experience, a 10-hp motor is generally as large a motor as most boaters use. Even a 3-hp motor will move a raft along at a pretty good clip. Operating a raft at high speeds can be unsafe, and with a self-bailing raft will definitely result in water jetting up through the drain holes!
- Always attach a safety rope or strap from your motor to the frame.
Learn More

Product Tips
The Raft Motor Mount needs the Motor Mount Stern Side Rails (Item # 90022.02) and a piece of Frame Pipe, (Item # 91002.01) or a Stern Seat Mount (Item # 92017.03) to attach to your main frame. These are sold separately.
Specs
Material:
1 5/8" 6063-T6 Anodized Aluminum Frame Pipe
Included Components:
- 2 - NRS Frame Pipes with LoPro Fittings
- 6 - U-bolts with nuts and washers
Includes:
- 2x8 wood/plastic composite decking transom plate, 18" wide
- 24" piece of frame pipe, with tho frame plugs
Frame Specs
| A | B | C | D | E | F |
| 13 7/8" | 10 1/2" | 17" | 17 7/8" | 7 1/2" | 24" |
Support arms are bent in toward boat at a 7 degree angle from the vertical.
Product Instructions
- Attach transom board to L-shaped bars, using the extra long Ubolts and backing plates supplied. Leave these finger tight.
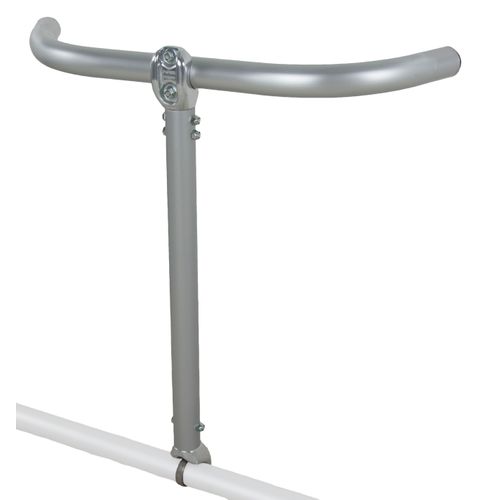
- Attach top of L-shaped bars to stern mount bar as shown in picture. Place the U-bolts under the bar, then push the LoProTM fitting onto it. It may be necessary to bend the horns of the U-bolts so that they match the holes on the fitting. This small amount of bending can usually be done by hand.
- Tighten the locking nuts. The washers are intended to take up slight variations in the length of the U-bolts. If less than two or three threads protrude above the top of the nylon-locking nut, do not use the washers.
- Position the transom at the height needed for your motor and securely tighten the eight nylon-locking nuts from step 1.
- Periodically check the tightness of all nuts and bolts. If these are loose, over time joints will become sloppy, or the transom may move.
- Always secure your motor to the frame with a safety rope or strap to prevent loss of the motor if your motor clamps loosen.
You May Also Like

Reviews
Due to your cookie choices, we cannot show you this content. Adjust your settings?
Questions
Due to your cookie choices, we cannot show you this content. Adjust your settings?
 NRS Gift Card: Always Fits, Always Wanted


